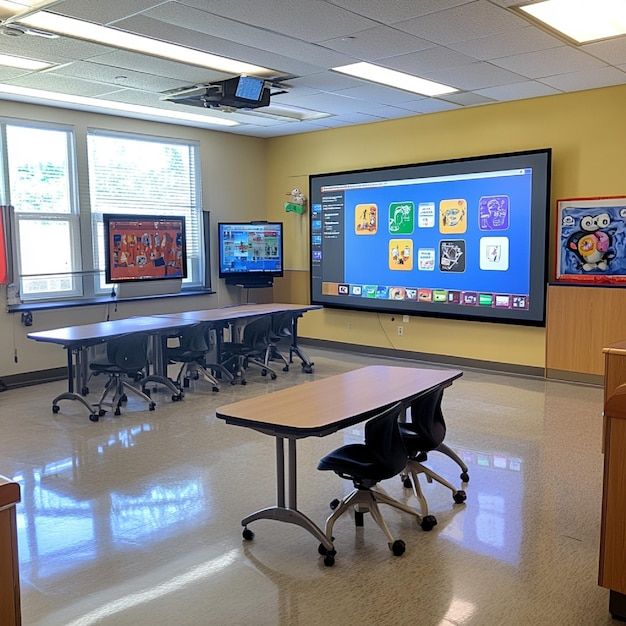
The digital transformation of education has made interactive smart boards an essential tool in modern classrooms. But what happens when you want to preserve those engaging, interactive lessons for students to revisit later? Recording smart board lessons has become a game-changer for educators looking to extend their teaching impact beyond the physical classroom.
Whether you’re creating content for absent students, building a library of reusable lessons, or transitioning to hybrid learning models, knowing how to effectively record your smart board sessions is crucial for today’s educators.
1. Understanding Smart Board Recording Capabilities
Smart boards come with various built-in recording features, but the capabilities differ significantly across brands and models. Most modern interactive whiteboards include:
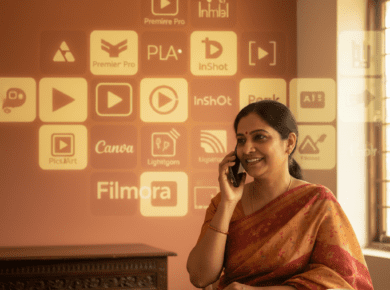
Built-in Recording Software: Many smart boards feature proprietary recording software that captures both your screen interactions and audio simultaneously. These tools are specifically designed to work seamlessly with the board’s touch interface and drawing capabilities.
Screen Capture Integration: Advanced smart boards often integrate with popular screen recording software, allowing you to use familiar tools while leveraging the board’s interactive features.
Multi-layer Recording: Some systems can record multiple layers of content, including background presentations, real-time annotations, and separate audio tracks for enhanced post-production flexibility.
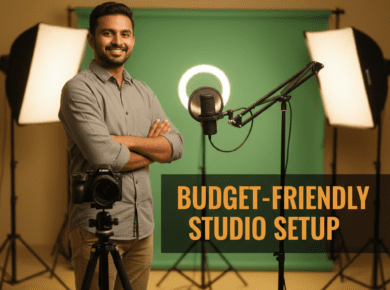
2. Essential Equipment for Quality Smart Board Recording
To create professional-quality recorded lessons, you’ll need more than just the smart board itself:
Audio Equipment: While smart boards often have built-in microphones, investing in a quality external microphone significantly improves audio clarity. Consider wireless lapel mics for freedom of movement or directional microphones positioned strategically around the board.
Camera Setup: If you want to include yourself in the recording, position cameras at angles that capture both you and the board content clearly. Multiple camera angles can create more engaging content but require more sophisticated editing.
Lighting Considerations: Proper lighting prevents glare on the smart board surface while ensuring you’re clearly visible. Avoid backlighting situations where you appear as a silhouette against the bright board.
Stable Internet Connection: For real-time streaming or cloud-based recording, ensure your internet connection can handle the bandwidth requirements without interrupting the recording process.
3. Step-by-Step Recording Process
Step 1: Prepare Your Content Before hitting record, organize your lesson materials, test all interactive elements, and ensure your smart board software is updated. Create a brief outline of your lesson flow to maintain natural pacing during recording.
Step 2: Configure Recording Settings Access your smart board’s recording software and adjust settings for optimal quality. Set your desired resolution (1080p minimum for clear text), frame rate (30fps for smooth motion), and audio input sources.
Step 3: Test Your Setup Conduct a brief test recording to check audio levels, video quality, and touch responsiveness. This prevents discovering technical issues mid-lesson.
Step 4: Begin Recording Start your recording software, introduce your lesson clearly, and maintain natural interaction with the board. Use gestures and movements that translate well to recorded format.
Step 5: Monitor During Recording Keep an eye on recording indicators and audio levels throughout your lesson. Be prepared to pause and restart if technical issues arise.
4. Best Practices for Engaging Recorded Lessons
Creating recorded smart board lessons requires different techniques than live instruction. Students watching recordings have different attention spans and interaction capabilities.
Maintain Clear Audio: Speak directly toward your microphone and project your voice clearly. Avoid turning away from the microphone while speaking, and minimize background noise.
Use Deliberate Movements: Make purposeful gestures and movements that enhance the lesson rather than distract from it. Point clearly to specific areas of the board and avoid fidgeting.
Create Visual Hierarchy: Use colors, sizes, and positioning strategically to guide viewers’ attention to important information. Remember that viewers can’t ask for clarification in real-time.
Include Pauses: Build in natural pauses for information processing, especially after introducing complex concepts or detailed diagrams.
5. Technical Troubleshooting Common Issues
Even with proper preparation, technical challenges can arise during recording. Understanding common issues and their solutions saves valuable time and frustration.
Audio Sync Problems: If audio and video become misaligned, check your system’s processing load and consider closing unnecessary applications. Using dedicated recording software often resolves sync issues better than generic screen capture tools.
Touch Sensitivity Issues: Smart boards may become less responsive during recording due to software conflicts. Restart the board’s calibration software or adjust touch sensitivity settings if available.
Storage and Performance: Large video files can overwhelm your system’s storage and processing capabilities. Monitor available disk space and consider recording to external drives for larger projects.
6. Post-Recording Enhancement and Editing
Raw recordings rarely represent your best possible content. Post-production editing can significantly improve the final product’s quality and engagement value.
Basic Editing Techniques: Trim unnecessary pauses, remove technical difficulties, and add smooth transitions between lesson segments. Most smart board software includes basic editing capabilities.
Adding Supplementary Content: Include title slides, summary screens, or additional resources that support the recorded lesson content. These additions help create more comprehensive learning materials.
Audio Enhancement: Clean up audio by removing background noise, normalizing volume levels, and adding music or sound effects where appropriate.
7. How Classplus Enhances Your Smart Board Recording Experience
Classplus understands the challenges educators face when creating and distributing recorded content. Our comprehensive learning management platform seamlessly integrates with your smart board recording workflow, providing tools that amplify your teaching impact.
Streamlined Content Distribution: Once you’ve recorded your smart board lessons, Classplus makes it effortless to organize and distribute this content to your students. Our platform supports various video formats and automatically optimizes playback for different devices and internet speeds.
Interactive Learning Beyond Recording: While recorded lessons provide valuable review opportunities, Classplus enables you to maintain student engagement through integrated quizzes, assignments, and discussion forums that complement your recorded smart board content.
Analytics and Insights: Understanding how students interact with your recorded lessons is crucial for continuous improvement. Classplus provides detailed analytics showing viewing patterns, completion rates, and engagement metrics for your smart board recordings.
Seamless Integration: Whether you’re using SMART Board, Promethean, or other interactive whiteboard brands, Classplus integrates smoothly with your existing technology stack, ensuring your recorded content reaches students without technical barriers.
8. Storing and Organizing Your Recorded Lessons
Effective organization of recorded smart board lessons ensures long-term accessibility and reusability of your content.
File Naming Conventions: Develop consistent naming systems that include date, subject, topic, and grade level. This systematic approach makes finding specific recordings much easier months or years later.
Cloud Storage Solutions: Utilize cloud storage platforms that offer adequate space and reliable access. Services like Google Drive, Microsoft OneDrive, or dedicated educational platforms provide secure storage with easy sharing capabilities.
Version Control: Keep track of lesson updates and revisions by maintaining version numbers in your file names. This practice helps you identify the most current content and track improvements over time.
Backup Strategies: Always maintain multiple copies of important recordings. Consider automated backup solutions that regularly sync your content to secondary storage locations.
9. Student Access and Engagement Strategies
Making your recorded smart board lessons accessible and engaging for students requires thoughtful distribution and presentation strategies.
Multiple Format Options: Provide recordings in various formats to accommodate different devices and internet speeds. Consider creating both high-quality versions for desktop viewing and compressed versions for mobile access.
Supplementary Materials: Accompany each recorded lesson with downloadable resources such as lesson notes, practice worksheets, or reference materials that students can use alongside the video content.
Interactive Elements: Even in recorded format, you can maintain interactivity by including timestamps for key concepts, embedded questions, or links to related activities that students can complete after viewing.
10. Legal and Privacy Considerations
Recording lessons involves important legal and privacy considerations that educators must address proactively.
Student Privacy Protection: Ensure your recordings comply with educational privacy laws such as FERPA. If students appear in recordings, obtain appropriate permissions and consider editing techniques that protect student identities when sharing content broadly.
Copyright Compliance: Be mindful of copyrighted materials that might appear in your smart board content. Use only legally licensed or original materials in recordings that will be distributed or stored long-term.
Institutional Policies: Review your school or organization’s policies regarding recorded content, data storage, and content sharing before implementing a recording program.
Conclusion
Learning how to record lessons on smart board effectively opens up tremendous possibilities for extending your educational impact beyond traditional classroom boundaries. From creating review materials for students to building comprehensive course libraries, recorded smart board lessons serve multiple educational purposes.
The key to successful smart board recording lies in combining proper technical setup with thoughtful pedagogical approaches. By following the structured approach outlined in this guide, educators can create high-quality recorded content that engages students and supports diverse learning needs.
Platforms like Classplus further amplify the value of your recorded smart board lessons by providing robust distribution, analytics, and student engagement tools. When you combine effective recording techniques with comprehensive learning management capabilities, you create an educational ecosystem that supports student success both inside and outside the traditional classroom.
Remember that creating quality recorded content is an iterative process. Start with basic recordings, gather student feedback, and continuously refine your approach. With practice and the right tools, your smart board recordings will become valuable educational assets that serve your students for years to come.
Whether you’re just beginning to explore smart board recording or looking to improve your existing processes, the investment in quality recorded content pays dividends through improved student outcomes, increased accessibility, and enhanced teaching efficiency. Start implementing these strategies today and transform your smart board into a powerful content creation tool that extends your teaching impact far beyond the physical classroom.
Also Read: top-10-microphones-recording-audio-quality