Making good videos can help teachers to capture and retain students’ attention. Videos allow you to explain complex topics in simple ways, demonstrate how to perform tasks, and show off your product or service in action. But, before anything else you must know how to record videos for online classes.
In order to know how to record a video course, there are several ways to deliver lectures online. The most common method is through using a webcam to stream live video from a computer screen. Another way is to use screen casting software to record audio and video at the same time. This post will help you with both of those things and more.
The importance of video recordings in online courses
Video lectures or recording videos in online courses is important because it allows the students to revisit the content as they need and have the content saved in the form of video. Having video lectures also helps teachers to keep a record of their work and can even sell these video courses online.
- Video recordings enable instructors to provide real-time feedback to students.
- They also help learners understand concepts and retain information.
- There are different types of video recordings that instructors use in online learning. One type is a screencast another is a lecture capture.
- These recordings are then uploaded to websites and shared among students.
You can share your recorded lectures on your app. Making it easier for your students to access them anytime they want to. To know more, talk to our growth experts and get your app now!
Equipment required to record videos for online classes
1. Camera
Cameras can be categorized based on their size, resolution, features, and price. There are many different types of cameras, including DSLR, point-and-shoot, camcorder, video cameras, and action cameras. A good-quality camera should have at least 1080p HD recording capability.
2. Tripod
A tripod is a stable base that holds a camera steady while taking pictures or filming. Tripods are useful for both still photography and videography. Tripods allow you to take high-quality photographs without having to hold the camera perfectly steady.
3. Microphone
The Snowball Ice microphone produces excellent high-quality sound and can be a low-cost choice. If you’ve got a little extra cash to invest and want to make a studio-quality sound, then take a look at the Rode Podcaster.
4. Lavalier mic
If you film videos on your smartphone, you’ll need a decent mic to make sure the audio quality is good. This Rode SmartLav microphone is designed especially for use with smartphones and produces great quality sound.
5. Webcam
How to record videos for online courses with a webcam? Even though video recording software can make it easy to do so, it’s often better to actually speak into a microphone and then edit out any background noise later.
That way, you won’t have to worry about keeping track of where you’re speaking and what you’re saying. You also won’t have to worry too much about getting the audio levels right.
6. SoftBox lighting kit
If you film videos in person, then you need to make certain you have good lighting to avoid poor-quality video. This softbox kit from Newer is perfect when you’re standing a couple of meters from the camera.
If you’re filming videos of yourself talking, then a ring light is probably best. You can put it in front of your camera so that it lights up your face, and you’ll get better results.
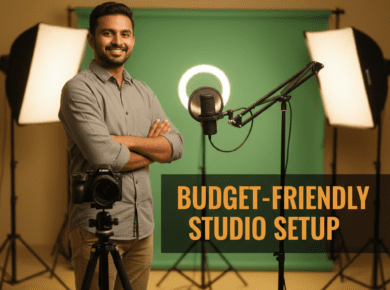
Setup required to record videos
The first step to making a video is setting up your camera and microphone. You want to make sure that you have enough room to move around freely without bumping into anything.
If you don’t have a tripod, then you may want to consider using something else to steady yourself. Make sure that the background isn’t distracting when doing screen grabs – these are great for editing later on.
- You can use any space that you have access to. Find somewhere that looks good and interesting.
- Make sure you have enough lighting, a tripod if you’re using one, and a camera.
- Your camera should be HD quality and at least 1080p.
- You’ll need a microphone to capture audio while filming.
- Lighting is an important aspect of video production. You’ll need lights to illuminate your subject and background.
- If you plan to add music to your video, you’ll need an audio recorder. An audio recorder records sound onto a digital file. You can either choose to do this manually or automatically.
How to ensure the audio and video quality?
How to record videos for online classes while ensuring your audio and video content remains competitive and consistent.
1. Audio and video
Your recording environment will dictate what additional equipment you’ll require to optimize audio and image quality. Select a quiet, well-lighted space and place your camera so that it records your head and shoulders and remains above eye level.
When working with audio and video, there are several things you must consider before beginning.
- Ensure that you have sufficient light in the area where you plan to record.
- Avoid any background noises that may interfere with your recording.
- Keep clutter out of the area where you’re planning to record.
These three simple steps will help you produce high-quality recordings that are ready to share with others.
How to record videos for online classes if background noise and bad lighting are a concern, then there are simple and affordable ways to improve the quality of the recordings.
a) External microphones
In order to enhance audio, there are inexpensive USB microphones that plug directly into your computer’s USB port. You can also purchase an external microphone that connects via an XLR cable.
b) Lighting
Ensure that your face is lit with soft light. You can do this by positioning a desk lamp or two in front of your computer.
c) Use the right techniques
When filming, try to ensure:
- You should hold your camera as steady as possible, preferably on a tripod or firm surface.
- Make sure you frame the subject appropriately. Your subject should be in focus and well-lit, taking advantage of any available natural light.
- Try not to move the camera during filming; instead, pan or rotate the camera slowly to achieve smooth motion.
- Voice-overs can be recorded in advance if needed. If you’re using voice-over, make sure the scripts are well rehearsed and you record them correctly, so they are easy to hear.
d) Select the right footage
You should choose footage that illustrates what you want to communicate about your course. It should also eliminate distracting backgrounds to make the message as easy to understand as possible.
e) Edit your footage
Your footage in various applications, such as Avid, Final Cut, and iMovie, which can all be downloaded online.
When you’re editing your footage, try not to do any of these things:
- jump cuts – only use crossfades or transitions for a reason; for example, to show the passage of time
- Transition and crossfade lengths should be uniform and consistent throughout the sequence. Keep your video and audio in sync throughout the sequence (this means keeping them synced in the same place)
- Your videos should be no longer than they need to be to deliver all the key information.
- Stabilize your handheld footage with an appropriate plug-in if necessary
f) Save your videos in high quality
You should save your videos in the highest quality possible and then convert them to different formats for different purposes. For example, you could convert them to.mp4 for uploading to YouTube.
g) Choose the right microphone
How to record videos for online classes by choosing the right microphone? You should use the right mic for the type of recording you are doing. Gun or rifle mics are good for recording speech or sounds without background noise. Lapel mics work best for interviews and links in quieter rooms. Always monitor your recordings or check the quality before starting.
A high pass filter (HPF) is an electronic circuit used to remove unwanted frequencies from an electrical signal. An attack time of 3 ms and a release time of 10 ms is recommended. Frequencies above 1 kHz can cause problems such as buzzing and popping.
h) Keep your equipment clean
Your equipment should always be kept clean. Dust particles can get lodged inside the components of your equipment and affect their performance.
Easy scripting for flowy online course videos
When you’re teaching a course, it’s almost impossible to do it off the top of your head. This is why it’s so important to spend some quality time scripting what you’re going to say. The best course speakers all come across as silky smooth, and that’s because they script their words.
Pro tip
While you’re scripting your course, make sure to read it out loud – you’ll find that you write plenty of things that you wouldn’t say, and those are those things that will sound awkward when you don’t cut them out.
To increase your chances of converting visitors into customers, make sure you follow these simple steps to produce high-quality videos.
1. Sketching out a script and planning the flow
Sketching out a script and planning the flow of the video and how each scene will play out is vital. From your speeches to texts and supporting images, everything must be planned and rehearsed before you begin shooting videos. Structure the material so your audience can easily understand your line of reasoning. Use slides to highlight your main points, but avoid cramming too much information into one slide.
2. Screen capture program
How to record videos for online classes with a screen capture program? In order to make good quality videos yourself, it is important to get a screen capture program. There are several freeware programs available online that can help you do so.
If you are prepared to spend money, you will have access not only to the basic features of these programs but also to more advanced ones. You can create even better material if you have the right tools.
3. Test your videos
After setting up audio equipment, take care of lighting and other aspects to record videos. Use this video to practice, analyze your speech and ensure you speak clearly and slowly. Once you’re done recording, you can start cutting out the sections you didn’t want.
When everything is finished, click upload, and your screen recorder will process and send your audio file to your video library.
4. Final record
If your video is ready, you may upload the materials on platforms such as YouTube or any other platform.
The best way is to upload your recorded videos on your app, making it easier for your students to access them anytime and anywhere. And if your screen capturing software includes video analysis, then take the time to evaluate how effective your recordings are.
For example, you might find that students give up watching a particular part, so edit the original video in the program to improve the learning experience.
Tips on how to record videos for online classes
You can easily lose focus and get lost in creating a course that contains too much information. When you’re creating the course material, keep asking yourself – is this piece of content vital to teaching the overall transformation?
If it’s not, then delete it. You’re aiming for clarity, simplicity, and structure, detail etc. where it matters. All delivered with your style, knowledge, and experience to support it.
Video is the best medium for learning – it’s the closest thing to learning face-to-face. You can either approach this from the perspective of creating a series of short videos, or you can create longer videos that cover the entire course. Whichever route you choose, make sure that the videos are clear and concise so that viewers can learn quickly and easily.
1. PowerPoint/keynote & voiceover
How to record videos for online classes with keynotes and voice-overs? This will work for almost everyone, especially if you are trying to teach knowledge or concept-based material. It’s an easy, inexpensive, and quick way to create high-quality courses.
- Start with making a PowerPoint or keynote presentation for each module.
- Play the slideshow on your laptop and talk over the top as you go – as if you are giving a lecture for that module.
- Use a good microphone for recording online classes combined with some recording software to record the slides and audio.
- The software will then produce videos as the output for each module of your course, which are then uploaded to whatever online learning platform you use.
Why is this a good way to record videos for online classes? It is quite straightforward – you don’t even need a camera and don’t need to film yourself if that’s not what you want. Just focus on providing great course content, and you should get it done quickly.
2. Film yourself using a camera or phone
How to record videos for online courses with a camera or phone? If you want to put yourself front and center as an instructor, you might need to film a lesson. You can either hire a local filmmaker for a day or so to shoot the footage or buy a decent camera for online teaching and recording videos.
If you want your videos to be of good quality then make sure to have good lighting setup while recording, adjust proper camera angles, have a good background setup etc.
3. Keep your videos short!
Who would want to spend long hours watching a video? Ideally, no single lesson should last longer than around twenty minutes. If it does, you should break it up into separate lessons, so your students don’t get bored.
Most lessons should be between five to ten minutes long. This can help to create structure in the course and make it easier for students to revisit specific sections later on.
4. Editing your course videos properly
A large part of creating an online course consists of editing whatever material you record, whether it’s audio, video, or written content. The key thing you’ll need to do is remove any long pauses, mistakes, and errors so that the final video flows well.
You can include bits you might have missed by re-recording them and then splicing them into the final version.
Software required to record videos for online classes
1. Free Online Screen Recorders
How to record videos for online courses with free online screen recording tools? Among the free online screen recording tools, Free Online Screen Recorders is one of the best solutions to record videos. With this tool, you can easily record videos and save them in MP4 format.
For example;
– Loom
– Apowersoft
– FlexClip
– iTop screen recorded, etc.
The software supports both Windows and Mac OS X platforms. It automatically detects the operating systems and adjusts the output settings appropriately.
2. AceThinker screen grabber pro
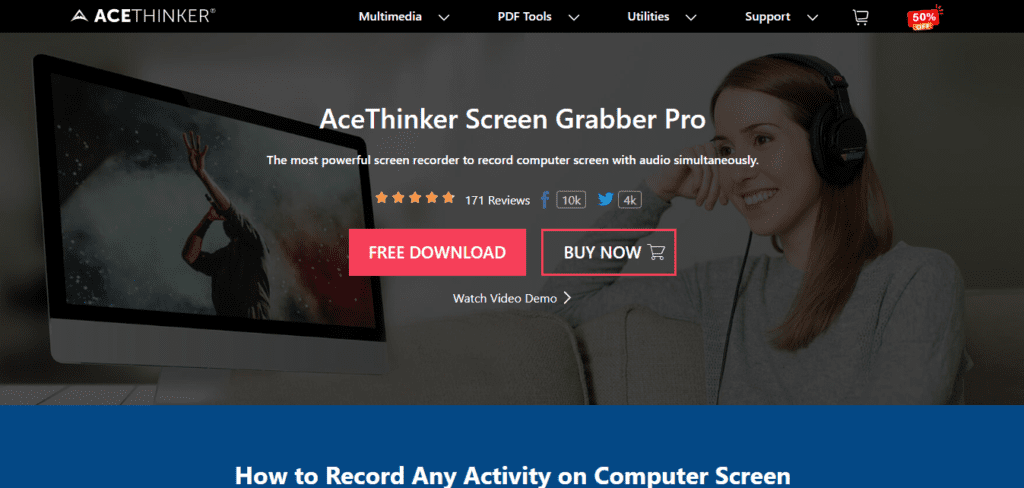
AceThinker screen grabber pro is an easy-to-use program to capture your computer screen and save it as a movie file. You can choose any region of the screen to record, including the entire screen or just part of it. You can also select the frame rate and resolution of the recorded video. The program supports both VGA and SVGA resolutions.
3. BB flashBack express
BB FlashBack Express is an effective, easy-to-use, and multi-functional screen recorder. Free, it records screens in Flash or AVID formats, including audio. The perfect program to record videos online and create presentations, demos, or tutorials, allowing you to include text, sounds, comments, and a wide range of functions with high quality!
4. ScreenFlow
Available for Mac only, ScreenFlow is a well-crafted and easy-to-use software for people who want to create video tutorials, record webcasts, or even perform post-production of professional videos. ScreenFlow allows you to do just about everything about creating simple videos created from your computer’s screen.
However, the program does not include any options for editing the sound, so if you need it, you’ll have to use some other audio editing software.
5. EZVID
Good for creating presentations and recordings from the screen of your PC, Ezvid is completely free. With a simple and intuitive interface, the program is perfect for everyone who wants to develop tutorials with images and sounds.
It works well on a wide range of operating systems, from Windows XP to the most recent versions, and you can also upload the final recording directly to YouTube.
6. Camtasia studio
Camtasia Studio is an easy-to-use screen capture and recording tool that allows users to create high-quality presentations. This tool is ideal for creating tutorials and SlideShare and comes with advanced features such as manual control of video resolution, effects, and themes. You can also add transitions, animations, music, and special effects to enhance your presentation.
Conclusion
Now that you know how to record videos for online classes, why not start today? Get your webcam or screen recording tool and begin creating engaging videos for your students. Remember, the goal is to make learning easy and fun for your students. So go ahead, and give your online classes a personal touch with videos made by you! Happy teaching!
If you already have recorded lectures, why not share it with your students? Make this an easy process by uploading these videos on your app. To know more, connect with our growth experts at Classplus for FREE and get started now!
How to record videos for online classes FAQs?
A1. There are many different types of software out there that allow you to record videos. You can get free software, paid software, and even web-based software.
A2. To record your course, choose between live streaming, where you teach while sharing your screen live, or screen sharing, where someone remotely views your shared screen.
A3. There are many different types of cameras out there. You want to get something that is affordable, reliable, and of good quality. If you have a smartphone, then you might consider using that instead. There are some great apps out there that allow you to record videos directly onto your phone.
A5. It depends on the type of content you’re creating. A brief video may take only a few minutes to make, whereas a lengthier one may take hours.
A6. Yes! All you have to do is create a free YouTube account. Then go to your computer and open up YouTube.com. Once you are on the website, click on “My Channel” at the top right corner. From there, click on “Upload Video.” Upload your video, and you are done!